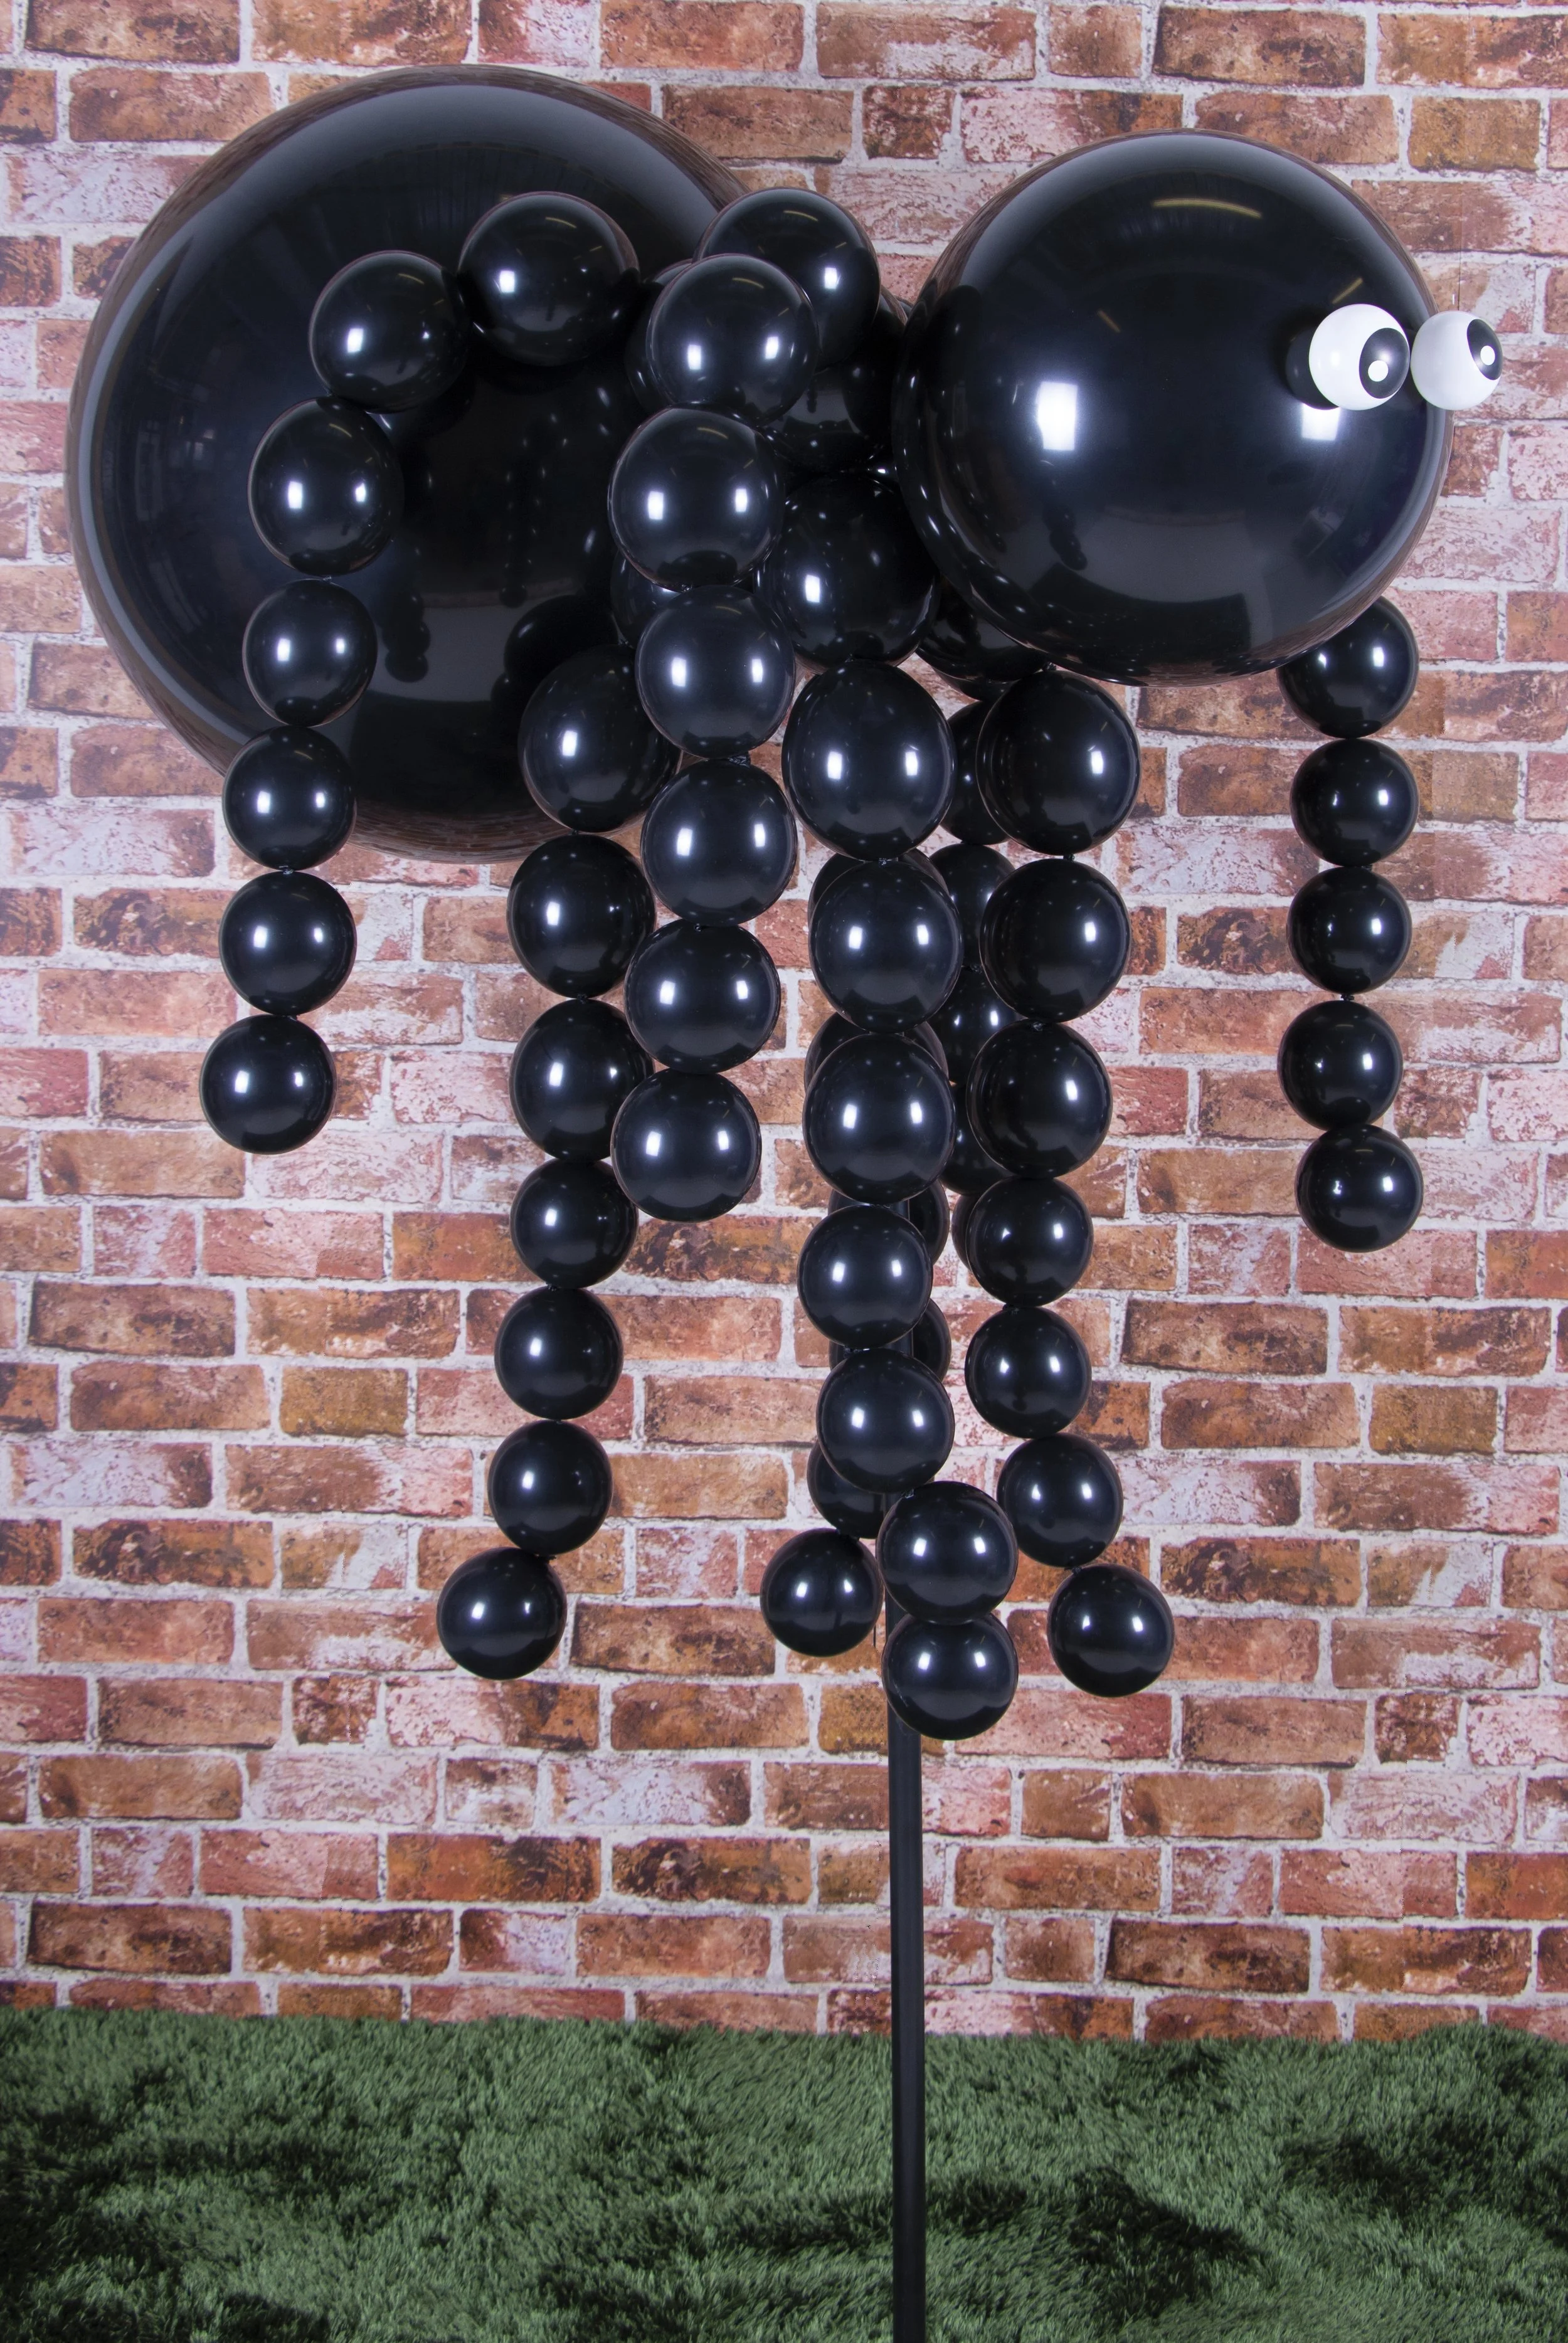
Spider Wind Waver
Designed by Chris Horne
Product Required:
1 x 24” Black latex balloon
1 x 18” Black latex balloon
56 x 6” Black link balloons
13 x 5” Black latex balloons
2 x 5” White latex balloons (eyes)
1 x 2m length of 25mm black PVC electrical conduit
Balloon Bond or latex based glue
Estimated Labour time: 30 mins
Construction Method:
1. Inflate 4 of the 6” black link balloons to 5”, tie into duplets and wrap into a cluster of 4, repeat to make a second cluster
2. Create a third cluster with 4 x 5” black inflated to 3”
3. Stack the clusters into a small column using the necks to secure the clusters tightly together
4. Wrap/ secure the small column onto the end of the PVC conduit very tightly. You may wish to tie a scrap of modelling balloon around the end to stop the balloons from sliding off the end, and help to secure
5. Create x 8 graduated garlands using 6 x 6” black link balloons in the following size order - 2 x 5”, 2 x 4”, 2 x 3”. Finish each with a 5” black balloon inflated to 3” (legs)
6. Tie one garland to each of the link on top of the conduit to create the legs
7. Inflate the 24” black balloon to around to 22” and tie tightly into the cluster legs. Inflate the 18” black balloon to around 14” and tie firmly, opposite the 24” balloon. This is the head and body of the spider, slide this onto the column on the conduit
8. Inflate each of the 5” white eye balloons to about 2”, squeeze the air into the top of the balloon and tie tightly. Trim off any excess balloon, and glue to the head of the spider.
Display the spider by pushing the end of the conduit into the ground in the desired location. This design can also work as a hanging design, without the PVC conduit.